

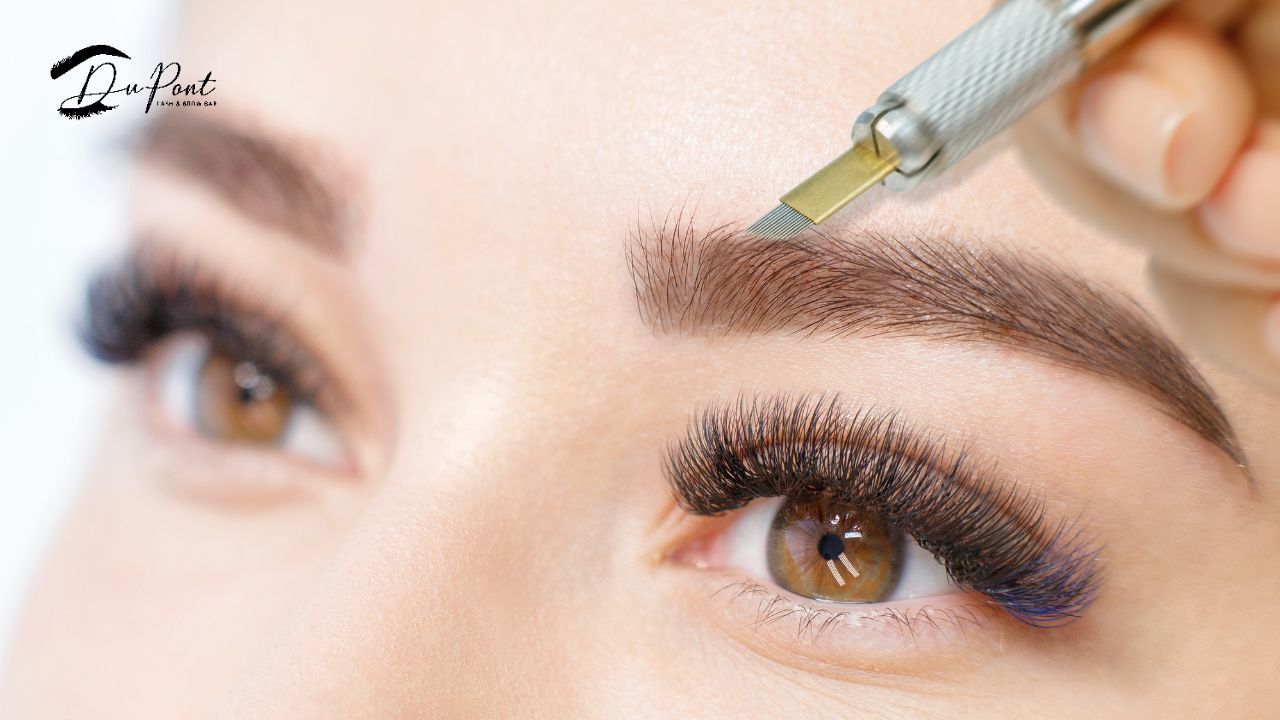
What You Need to Know about Microshading Healing Process
So, you’ve just undergone the magical transformation of microshading and now it’s time to embark on the healing journey.
Don’t fret; we’re here to guide you through the fascinating world of microshading healing. Get ready to discover the secrets to a smooth recovery and prepare to show off those fabulous brows with confidence!
First 48 Hours
The initial 48 hours post-microshading are crucial. Your brows may feel a bit tender, and you might notice some redness and swelling. This is completely normal, so don’t panic.
To ease any discomfort, apply a cold compress gently to your brows and take over-the-counter pain relievers if needed. Remember, no excessive sweating, swimming, or heavy makeup during this time – let your brows breathe!
Scabbing Stage
Around days 3 to 7, you’ll start to notice some scabbing and flaking. This is your skin’s way of naturally healing and shedding the superficial layers.
Whatever you do, resist the urge to pick at those scabs – it’s crucial for proper healing and to avoid any potential scarring.
Itchiness Dilemma
Ah, the dreaded itchiness! As your brows heal, they may become itchy – like, really itchy. But don’t give in to temptation!
Scratching can disrupt the healing process and potentially affect your final results. Instead, pat your brows gently if you must, but try to avoid any vigorous rubbing or scratching.
Hydration and Protection
During the healing process, it’s essential to keep your brows well-hydrated. Apply a thin layer of the recommended ointment provided by your technician to keep your brows moisturized and protect them from external factors.
Also, make sure to avoid direct sunlight, saunas, and swimming pools during the first two weeks – your brows need a little extra TLC.
Waiting Game
Now comes the patience part. Your microshaded brows will continue to evolve during the first four weeks. The color may appear darker initially, but don’t worry; it will lighten up as the healing progresses.
By week four, you’ll have a much better idea of your final results, which can be anywhere from soft and subtle to bold and beautiful.
Touch-Up Session
Around 4-6 weeks after your initial microshading appointment, you’ll have a touch-up session with your technician. This is a crucial step in ensuring your brows look their absolute best.
Your technician will fine-tune the color and shape, ensuring your brows are picture-perfect.
Long-Term Maintenance
To maintain their beauty, consider using a gentle, sulfate-free cleanser when washing your face, and apply sunscreen to protect your brows from UV damage.
With proper care, your microshaded brows can last up to two years!
Confidence Boost
The best part of the microshading healing process? The confidence boost you’ll experience once your brows have fully healed!
You’ll wake up every day with flawless brows, and there’s nothing quite like that feeling. So go ahead, flaunt those fabulous brows and conquer the world with your newfound confidence!
Conclusion
There you have it, the journey of microshading healing unveiled! While the process may require a bit of patience and TLC, the end result is well worth it. Your brows will be on point, and you’ll feel like a million bucks.
Embrace the healing process, follow these tips, and in no time, you’ll be showcasing your fabulous brows with confidence and style!