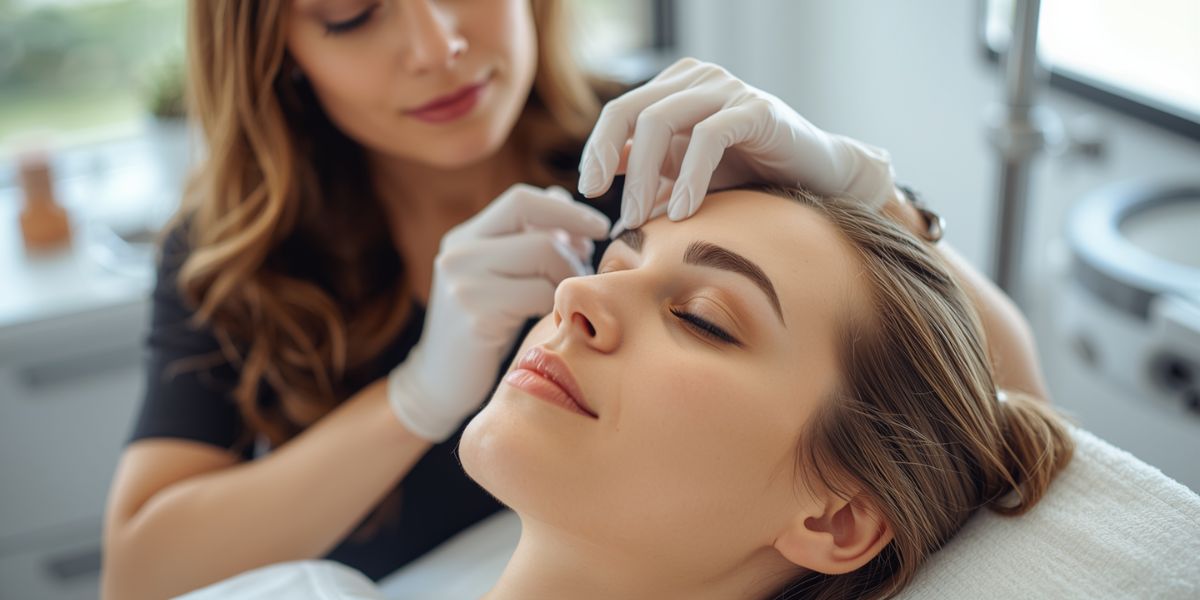
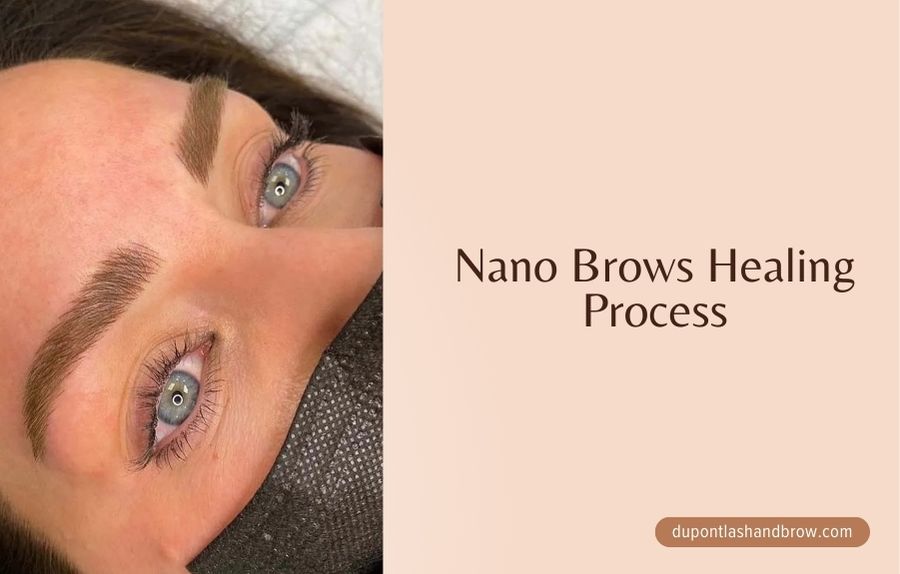
Getting nano brows is an exciting journey towards achieving perfect, natural-looking eyebrows. At DuPont Lash and Brow Studio, we want to make sure you’re fully prepared for what’s to come. Understanding the healing process is essential, and having a visual guide can be incredibly helpful. Here’s a day-by-day breakdown of the nano brows healing process with pictures to show you what to expect and how to care for your brows.
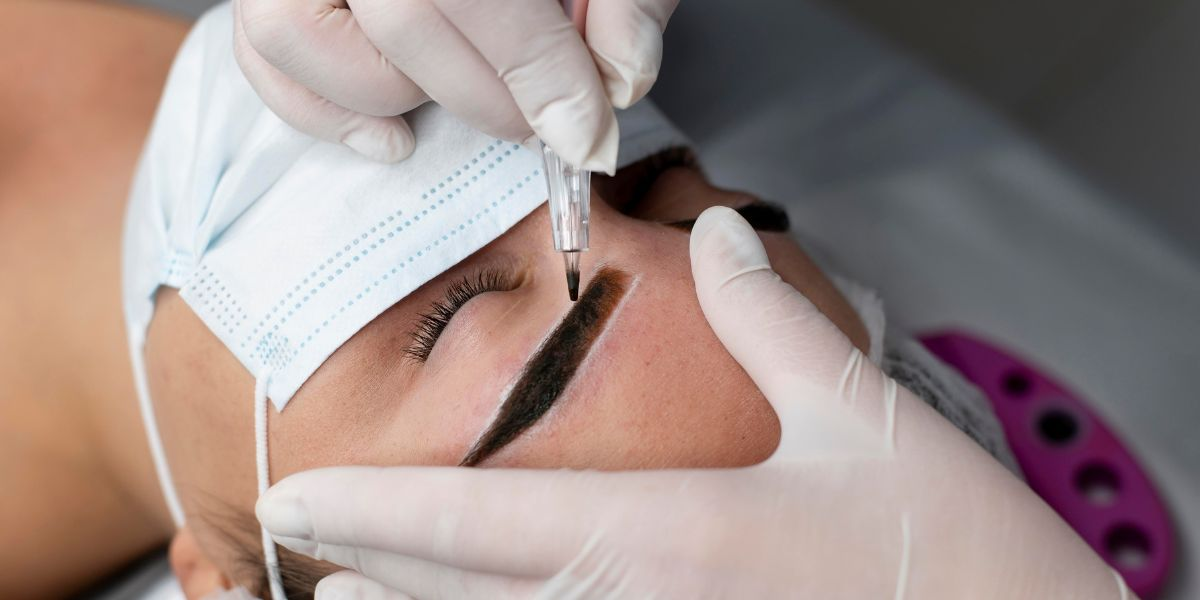
Day 1: The Procedure Day
What to Expect: Right after your nano brows procedure, your brows will look very bold and dark. This is due to the fresh pigment and the slight swelling around the area.
Care Tips:
- Keep your brows dry.
- Avoid touching or rubbing the area.
- Apply the healing ointment provided by your technician.
Day 2-3: Initial Healing
What to Expect: Your brows may still be dark and bold, with some slight redness and tenderness. Swelling should start to decrease.
Care Tips:
- Continue to keep your brows dry.
- Avoid sweating and strenuous activities.
- Gently apply the healing ointment as directed.
Day 4-7: Scabbing and Flaking
What to Expect: This is the most challenging part of the healing process. Your brows will start to scab and flake as the skin heals. It’s crucial not to pick at the scabs.
Care Tips:
- Let the scabs fall off naturally.
- Avoid water, makeup, and skincare products on your brows.
- Pat your face dry carefully, avoiding the brow area.
Day 8-14: Lightening and Itching
What to Expect: Your brows will start to lighten as the scabs fall off. You might experience some itching, which is a sign that your skin is healing.
Care Tips:
- Resist the urge to scratch; gently tap around the area if needed.
- Continue avoiding water and makeup on the brows.
- Apply a thin layer of the recommended healing ointment if needed.
Day 15-21: Color Settling
What to Expect: By now, most of the scabs should be gone, and your brows will start to settle into their more permanent color. They may still appear lighter than expected, but the pigment will continue to develop.
Care Tips:
- Avoid direct sun exposure and protect your brows with a hat or sunscreen.
- Gently cleanse your face, avoiding the brow area.
- Keep your skin moisturized.
Day 22-30: Final Healing Stages
What to Expect: Your brows are almost fully healed. The color should look more even and settled. Any remaining redness should have subsided, and your brows will look more natural and defined.
Care Tips:
- Continue to avoid toxic skincare products around your brows.
- Protect your brows from the sun.
- Follow any additional aftercare advice from your technician.
Tips for a Smooth Healing Process
- Follow Aftercare Instructions: Your technician will provide specific aftercare instructions. Follow these carefully to avoid complications.
- Keep Your Brows Dry: Avoid getting your brows wet during the first week. This includes sweating, swimming, and washing your face directly over the brows.
- Avoid Touching: Keep your hands off your brows to prevent infection and ensure even healing.
- Use Gentle Products: Only use the products recommended by your technician to avoid irritation and ensure the best results.
- Protect from Sun Exposure: UV rays can fade the pigment. Wear a hat or use sunscreen on your brows once they are fully healed.
Understanding the nano brows healing process with pictures can help you feel more prepared and confident as you go through each stage. At DuPont Lash and Brow Studio, we’re here to support you every step of the way. If you have any questions or need further assistance, don’t hesitate to reach out to us.
Book an Appointment Today!